Sticky announcement banners are one of the easiest ways to grab the attention of users. By creating an announcement banner in your Shopify store you can:
Advertise/promote a product that is offering a discount.
Promote a product collection page.
Make text announcements to customers like “Free shipping for orders above $20”
The Problem
Many Shopify themes have a simple announcement bar but they are not sticky, hence users ignore it as soon as they scroll the page. Additionally, it is very difficult and time-consuming to customize design and code solutions tend to be different based on store themes.
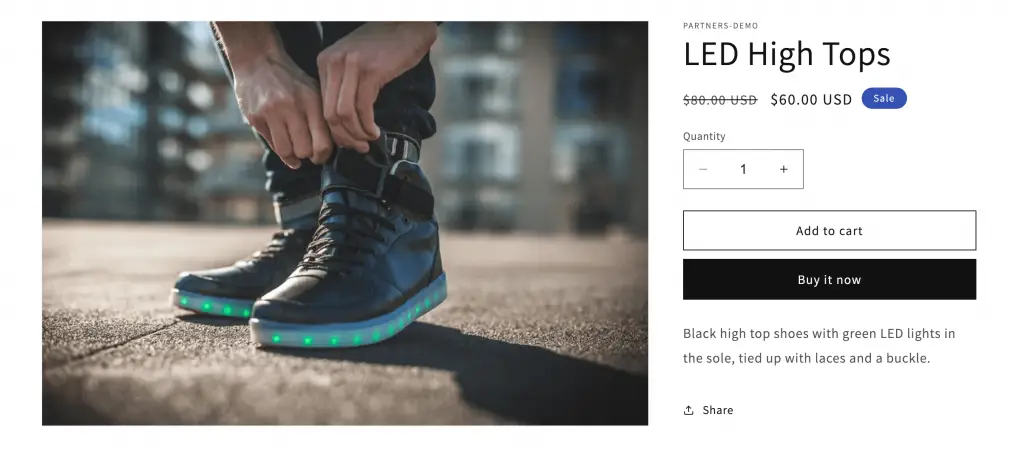
In my Shopify store, I have a newly launched product called “LED High Tops” which is being sold at a $20 discount. I want to promote this offer across other store pages to gather more sales.
Hence I need to create a sticky announcement bar with the text “$20 off on LED High Tops” along with an action button that redirects to the destination URL.
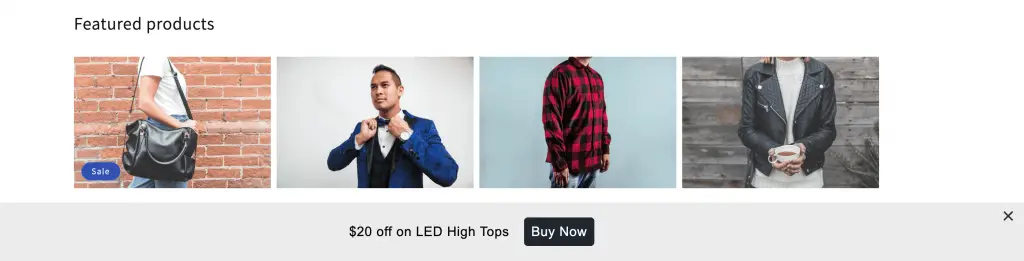
Shopify Product I want to PromoteFinal result of announcement banner
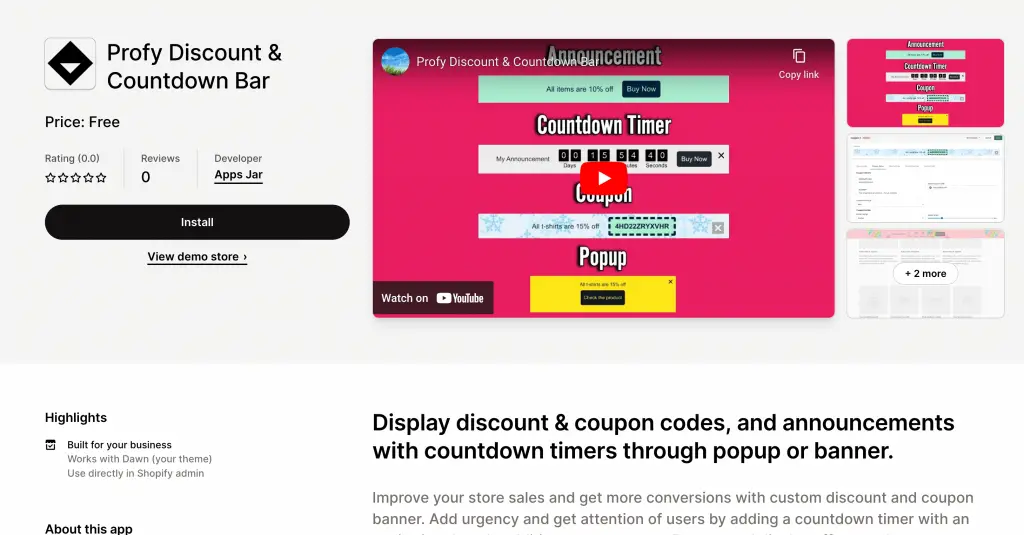
1) Install the “Profy Discount & Countdown Bar” Shopify plugin
I searched through all the announcement banner plugins, and “Profy Discount & countdown bar” appeared to be the easiest to setup and customizable. Most importantly it is completely free to use, unlike other options.
In addition to the announcement banner, you can also create countdown timers, coupon bars, and pop-ups if that is something you are looking for.
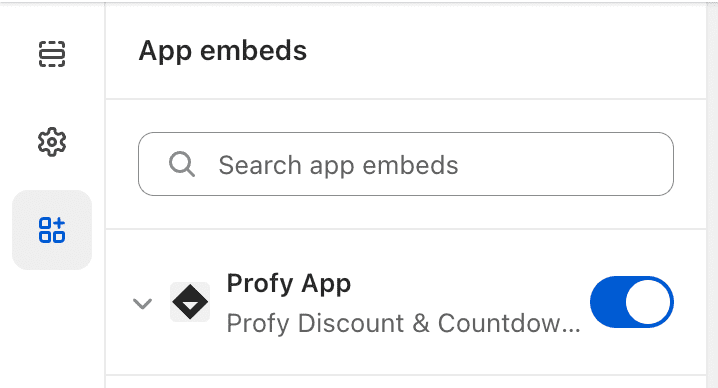
2) Enable App embed
Enable app embed
Once the app is installed, you need to enable App embed so that the banner is visible on the storefront.
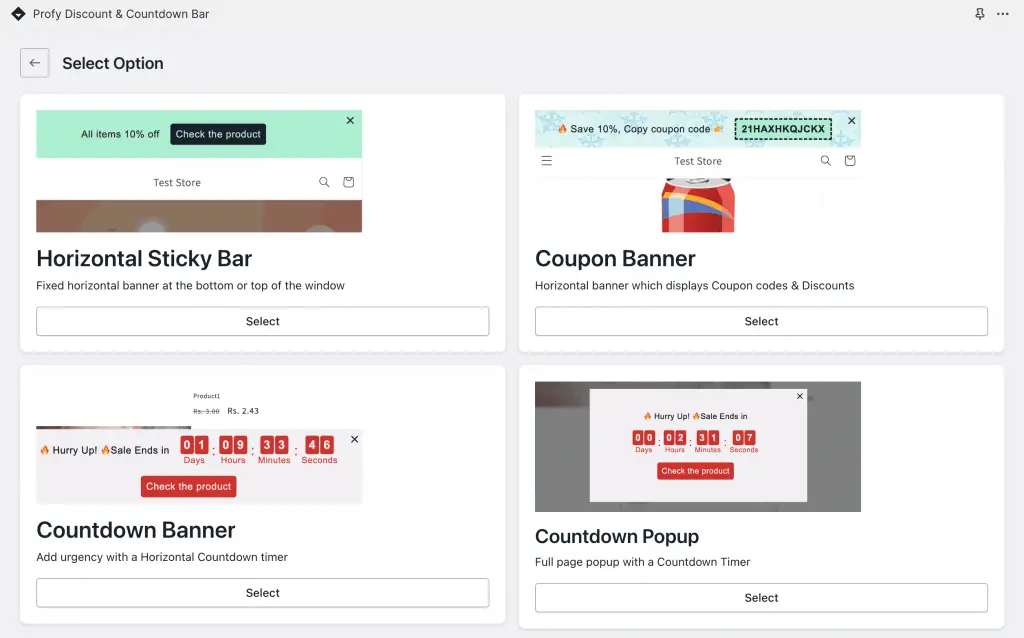
3) Click on Create Banner and Select “Sticky Horizontal Bar”
Banner options
Now to create your first banner, you need to click on the “create banner” button. From multiple options, the “Sticky Horizontal Bar” option has to be selected.
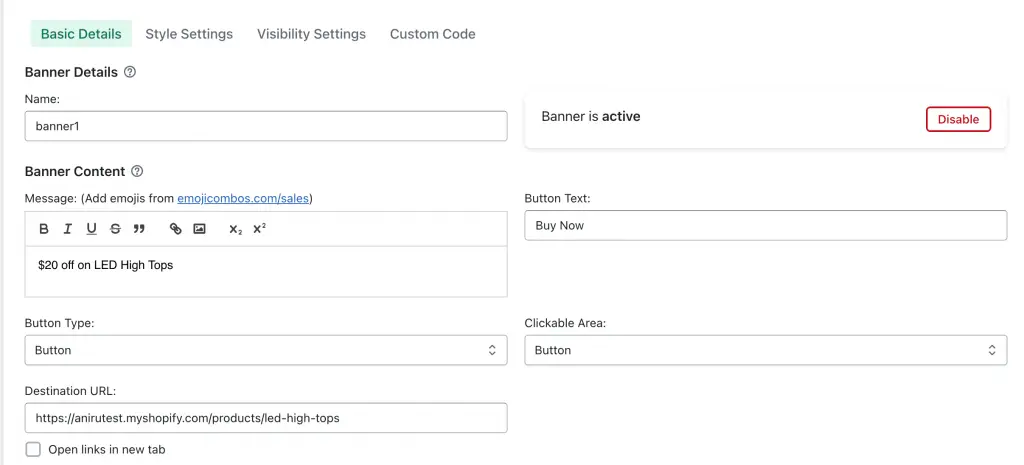
4) Enter a Banner message and Destination URL
Banner details section
After the edit banner page loads, enter the banner name. The update of the banner contents such as banner message, button text, and destination URL of the action button.
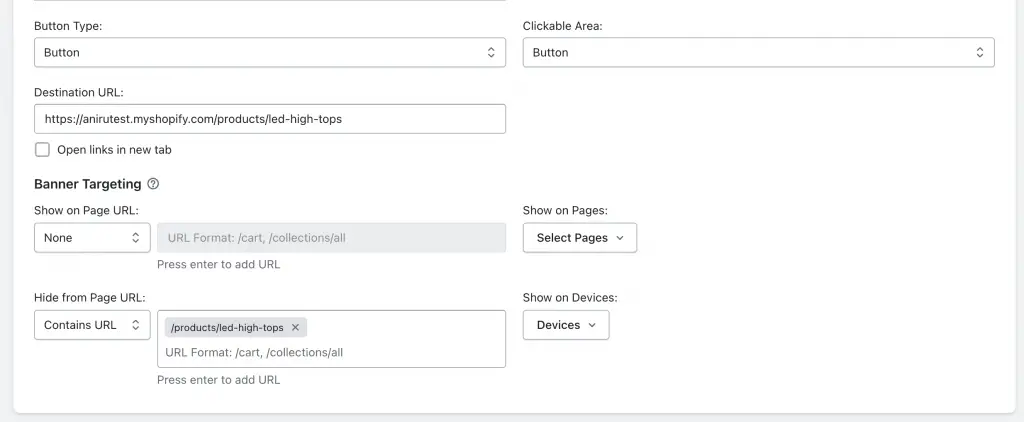
5) Select Target pages and device
Banner targeting options
You can easily modify the banner targeting to hide/show banners based on page URL, page category, and devices. In this example, I will hide the banner on the destination product page.
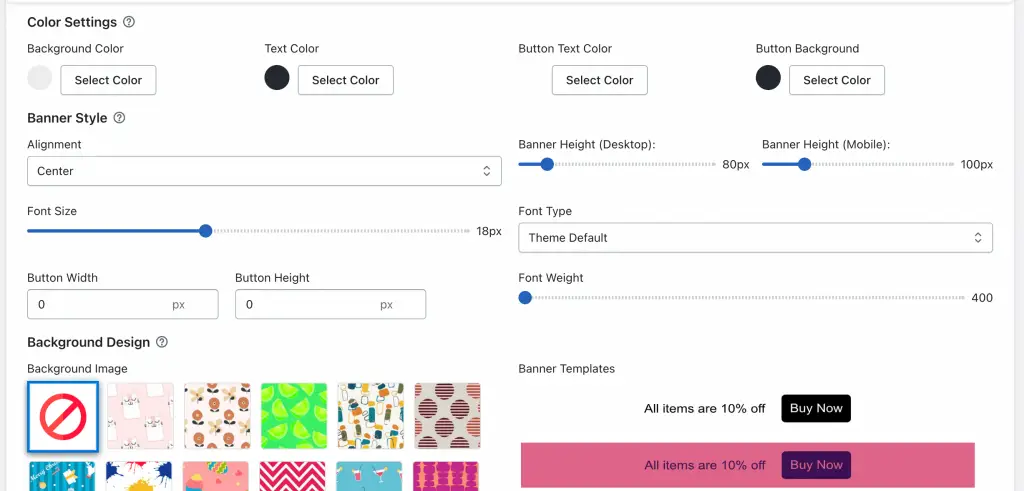
6) Customize banner design based on your theme colors
Style settings
The default design of the banner can be modified through the “style settings” section. You can change the background color, text color, button color, etc. based on your theme. Additionally, you can choose from existing theme templates and background images.
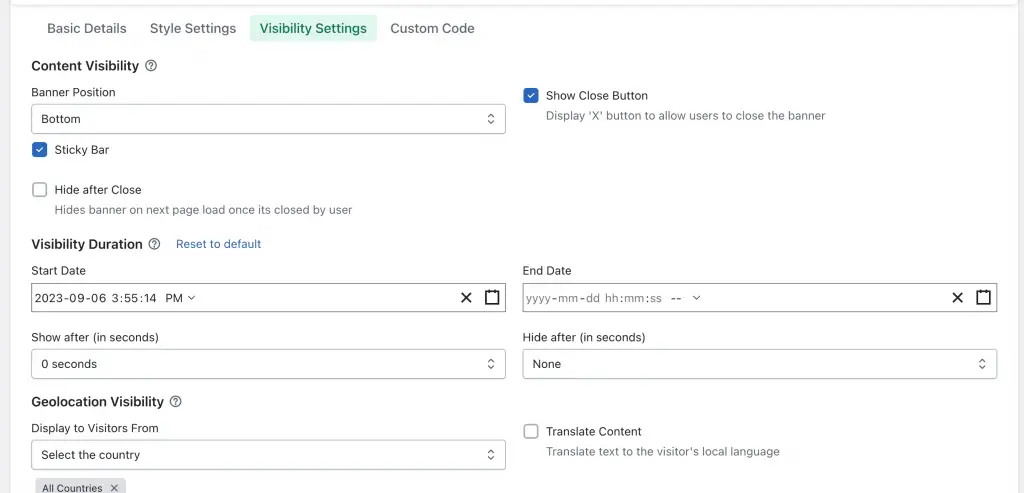
7) Configure banner visibility
Visibility settings
From “visibility settings”, you select the position of the banner, where the banner should be sticky, and the start/end date of the banner.
8) Save and View Results on the Store
Final result
Finally, once the banner is configured, save the banner by clicking on the “Save” button. After the banner is saved, the announcement banner must be visible on the storefront. When the “Buy Now” button is clicked the page must redirect to the “LED High Tops” product URL.