A QR code allows a string or URL to be scanned directly from another device to avoid issues/mistakes with entering the data manually. In this article, we will learn how to build a JavaScript QR code generator with the following functionalities:
Allow users to enter input string or URL that needs to be encoded.
Generate and Display QR code for the respective input on button click.
Previously entered data is decoded by a QR code scanner application from another external device.
Reset the application on button click.
QR code generator demonstration
1. Install “qrcode” npm package
We will be using the functionalities from “qrcode” npm package to generate the QR code. NPM package cannot be used in a JavaScript project directly, therefore the NPM needs to be initialized first.
// Initialize npm in the project's source directory
$ npm init
name: your project name
version: (0.0.0) 0.0.1
description: The project Description
entry point: //leave empty
test command: //leave empty
git repository: //project's repositories URL
keywords: //leave empty
author: // name of the project's author
license: N/A
After NPM is initialized, the package.json file is generated in the projects’ source folder. The command for installing “qrcode” package is as follows:
npm install --save qrcode
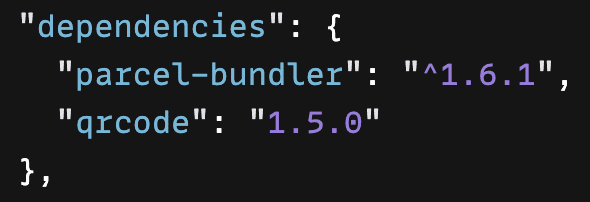
Once the “qrcode” NPM package is successfully installed, it will be included as a dependency in package.json.
“qrcode” dependency in package.json
2. Display HTML <input /> element
The first functionality of the QR code generator is to accept user input which would later be encoded in QR code format. The <input/> HTML element allows user to enter the corresponding text.
3. Use HTML5 <Canvas/> element to display the QR code
The generated QR codes are graphic elements, hence they can be displayed as an image or rendered through the HTML5 canvas element. This example will display the QR code on screen through HTML 5 canvas, thus including the <canvas/> element in the index.html file.
5. Functionality to generate QR code on button click
The QR code generator is developed with the following steps:
The QR code is generated using “QRCode.toCanvas()” method with canvas element and value of <input/> element as the parameters.
The visibility <div> container enclosing the resultant QR code is toggled.
The default <div> container which allows users to enter values is hidden.
The handleGenerate() JavaScript function is associated with the button’s onclick event with id “generate-qr”.
import QRCode from "qrcode";

var canvas = document.getElementById("canvas");

var userInput = document.getElementById("user-input");

var appContainer = document.querySelector(".app-container");

var resultQrCode = document.querySelector(".result-qr-code");

var generateQR = document.getElementById("generate-qr");

function handleGenerate() {
  // Append QR code to HTML canvas element
  QRCode.toCanvas(canvas, userInput.value, function (error) {
    if (error) console.error(error);
    console.log("QR code successfully generated!");
  });
  // Display container enclosing Canvas
  resultQrCode.style.display = "flex";
  appContainer.style.display = "none";
}

generateQR.addEventListener("click", handleGenerate);
6. Add Reset Functionality
The reset functionality is implemented by clearing the previously entered <input/> value, which is followed by hiding the previously generated QR code while displaying the default appContainer element. Finally, the handleReset() function is attached with the onClick event of the button with the id “reset-qr“.
function handleReset() {
  // Clear previous input value
  userInput.value = "";

  // Hide previous result and display input
  resultQrCode.style.display = "none";
  appContainer.style.display = "flex";
}

var ResetQR = document.getElementById("reset-qr");

ResetQR.addEventListener("click", handleReset);