In this article, we will learn how to create a React JS calendar along with events that are triggered based on user actions. The following events will be included in the React JS calendar:
onChange(): Event is triggered each time the user selects a date from the calendar.
onClickYear(): Event is triggered every time a year is selected by the user.
onClickMonth(): Event is triggered when a month is selected by the user.
1. Add “react-calendar” npm package to project
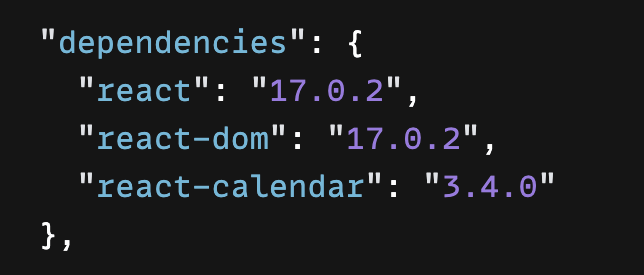
The first step is to add the “react-calendar” npm package to React JS project. The react-calendar package provides a Calander Component to allow users to select the year, month, and date. Learn more about the package from npmjs.com/package/react-calendar.
npm i react-calendar

// For projects configured with yarn
yarn add react-calendar
package.json with react-calendar dependency
2. Declare React State for the selected date and calendar text
In order to create the React JS calendar, we need to declare the following React states:
selectedDate: Store the date value selected from the calendar.
calendarText: Value of text displayed above calendar component.
// State for date selected by user
const [selectedDate, setSelectedDate] = useState();

// State for text above calander
const [calendarText, setCalendarText] = useState(`No Date is selected`);
3. JS function to handle onChange() event
When the user selects a date from the calendar, the onChange() event is triggered. We will declare a JS function to handle the event, where we update the selected date state and calendar text to display the date selected by the user.
// Function to update selected date and calander text
const handleDateChange = (value) => {
  setSelectedDate(value);
  setCalendarText(`The selected Date is ${value.toDateString()}`);
};
4. JS function to handle onClickYear() event
When a year is selected by the user, onClickYear() is triggered. We will update calendar text, for example when a user selects the year 2019, the text “2019 Year is selected” is displayed.
// Function to handle selected Year change
const handleYearChange = (value) => {
  const yearValue = value.getFullYear();
  setCalendarText(`${yearValue} Year  is selected`);
};
5. JS function to handle onClickMonth() event
Similar to year, when users select the month, onClickMonth() is triggered and the calendar text value is updated.
// Function to handle selected Month change
const handleMonthChange = (value) => {
  const monthValue = allMonthValues[value.getMonth()];
  setCalendarText(`${monthValue} Month  is selected`);
};
6. Include <Calendar/> to component JSX code
The calendar is displayed on the screen by including <Calendar/> in the JSX code of the App component. The calendar text is displayed above the calendar using “{calendarText}” code.
Further, props such as onClickMonth, onClickYear, onChange, and value are pass down to the Calander component.